admin
2026-02-23 | 0 comments
Share this:
In 2026, prices for everything are rising, and salaries are not keeping up. Many Ukrainians are looking for ways to update their apartment without spending a lot. DIY renovation can save up to 50% of your budget, but only if done right.
You will receive a step-by-step plan from the estimate to the finish. We will show you how to avoid mistakes and stay within your budget. This guide is for those who want quality without hiring a team.
First, inspect the apartment. Check the walls, floor, and ceiling for cracks or mold. Decide whether you need a cosmetic renovation or a complete overhaul. Cosmetic renovations are fine if you just refresh the paint and wallpaper. For a complete overhaul, work with the wiring and pipes.
Use free programs like Sweet Home 3D for sketches. Draw a plan of the room with furniture. This will help you see where to place outlets. Before starting, make a list of what to demolish and what to install. Such a plan will save time and stress.
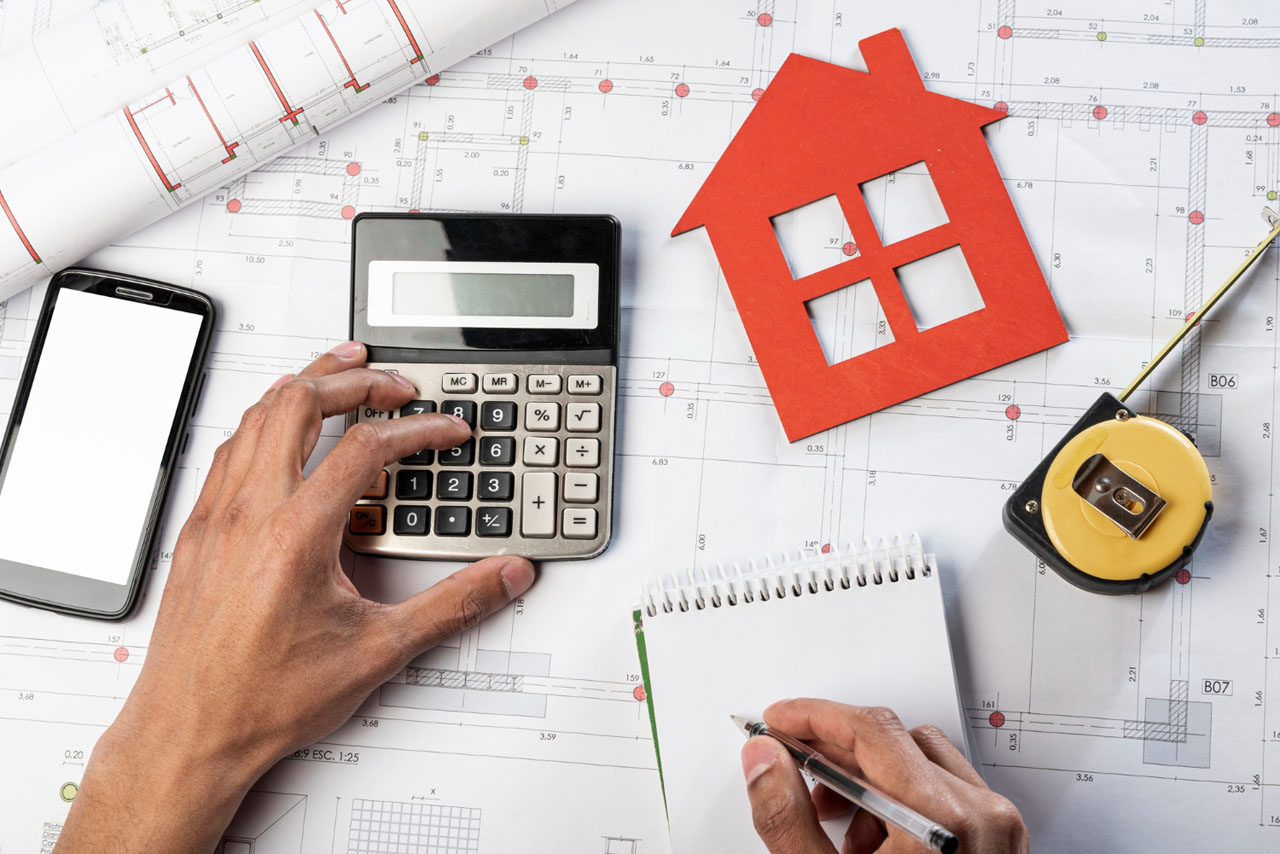
The budget is divided into parts. Materials take 60-70% of the total. Tools - 10-15%, and leave 15-20% for surprises. In Ukraine, cement prices increased by 12% in 2026, according to the State Statistics Service. Calculate everything in hryvnias in advance.
The Association of Builders of Ukraine recommends spending no more than 30% on tools for DIY projects. Use a calculator and write down store prices. Add 10% for delivery. This way, you won't go into the red.
Look for materials at Epicentr K or at markets like Petrovsky in Kyiv. Wholesale warehouses offer discounts of up to 20% on large quantities. Leroy Merlin is good for tools, but check availability. Seasonal promotions in March-April 2026 will help you buy paint cheaper.
Monitor prices through OLX or Prom.ua. Use loyalty cards for cashback. Buy everything for one room at a time. This will reduce transportation costs and the risk of price increases.
Essential tools: a screwdriver, a laser level, and a set of spatulas. They cost about 5,000 UAH in 2026. A screwdriver is needed for screws, a level for level walls. Without them, apartment renovation will come to a standstill.
Recommended: a hammer drill for concrete and a vacuum cleaner for dust. Rent a tile cutter from a service for 300 UAH per day. In Odessa or Lviv, such services are common. Don't buy everything at once - start with the basics.
Wear gloves and glasses when working. Turn off the electricity before wiring. In apartment buildings, check if your neighbors are in danger. Remove trash immediately to avoid slipping.
Organize storage: paint shelves, bags for debris. Remove trash legally through utility services - fines increased in 2026. The work area must be clean and well-lit.
Watch videos on YouTube from channels. Plastering lessons last 10-15 minutes. Practice on a small section of the wall.
Free courses teach drywall installation. Spend a week on theory before practice. This will reduce defects and increase confidence.
Start by removing the wallpaper. Wet it with water and scrape it off with a spatula. For tiles, use a hammer and chisel - hit carefully. Break up the floor screed with a hammer drill, but wear a dust mask.
Wet the surfaces before cleaning. This will reduce airborne dust. Prepare the floor for new screed: remove crumbs and prime. This approach will ensure a strong base.
Mark the locations for sockets according to the Electrical Installation Code (PUE) - the cable must be in a corrugated pipe at a depth of 5 cm. Use circuit breakers. For plumbing, check the pipes for leaks. Replace the faucets if they are old.
In apartments, be sure to call an electrician for the panel - this is the law. Run the wires yourself, but test with a multimeter. Safety comes first.
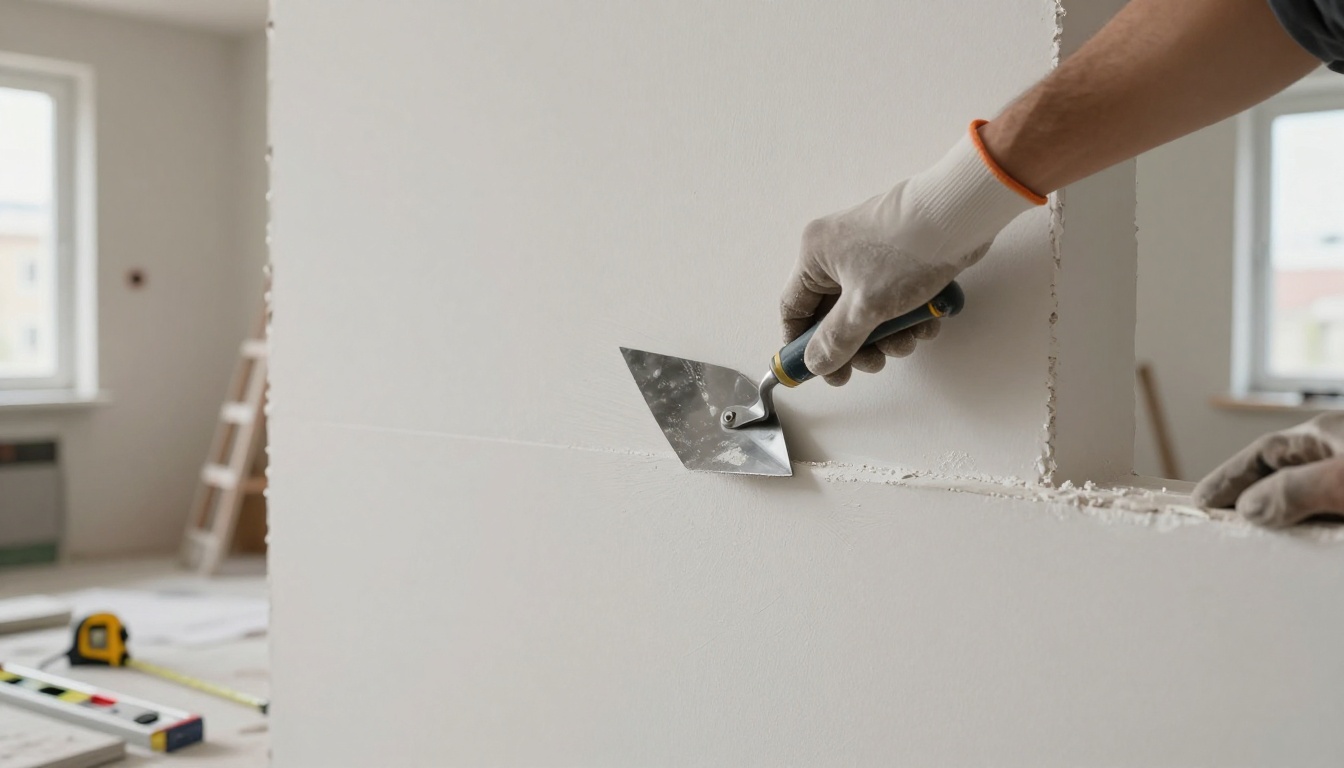
For the walls, use plaster beacons. Apply the mixture using a straight edge from the level. Drywall is simpler: attach it to the frame with dowels. For damp areas, choose moisture-resistant sheets.
Level the floor with a self-leveling mixture - a layer of 3-5 mm. Prime the base for adhesion. Take into account the humidity in the bathroom - use special compounds. Smooth surfaces will prolong the life of the coating.
Painting is simple: prime and apply two coats. Use a roller for smoothness. In 2026, matte odorless paints are popular. They last 5-7 years.
For drywall, assemble the frame and putty the seams. Stretch ceilings require a professional - don't take risks. Trend: LED edge lighting for comfort. Choose according to your budget and skills.
Prepare the base: prime and waterproof. Lay the laminate with a gap of 8-10 mm against the walls - it expands with heat. Glue the underlayment for silence.
Lay the tiles with a 30% stagger between the seams. Use spacers for evenness. Cut the linoleum according to the template and glue it. In the kitchen, tiles are more practical - they are not afraid of water.
Prime the walls for better adhesion. Putty in two layers, sand with sandpaper. Choose vinyl for wallpaper - they are environmentally friendly and inexpensive in Ukraine.
For painting, use acrylic paints without VOC. Apply with a brush in the corners and a roller on flat surfaces. Wallpaper with a plaster texture is popular. This will add style without unnecessary expenses.
Adjust the doors to the level: adjust the hinges. Install the trim with glue or nails. Choose plastic baseboards - they are easy to install. Leave a gap for sockets.
Seal the window slopes with plaster. Check the seals for leaks. This will prevent drafts in the winter.
Connect the lamps with the power turned off. Screw in the bulbs and secure the wires. Test the sockets with a tester. Arrange the furniture according to the plan - leave space for circulation.
Integrate smart lighting if your budget allows. This is a trend in Kyiv. Do everything yourself - minus 20% of costs.
Check with a checklist: are the walls even? Do the sockets work? Is the floor sealed? Fix the corners with putty. Lighting - no flickering.
Save on cleaning: collect trash in bags and call a removal service. Wash it yourself with vinegar. It's cheaper than a service.
Planning, tools, and clear steps are the key to success. You will save money and create the home of your dreams. Follow safety precautions and learn as you go.
DIY home repairs in Ukraine are possible. Start today and enjoy the results. If you get stuck, come back to this guide. Good luck!
Previous article
Detect and fix: common home design mistakes that cost you money and stress
Next article
Ventilation and heat in an apartment: how to find the perfect balance for a healthy microclimate
Want to stay up-to-date on all the latest news in construction, design, renovation, and energy efficiency? Subscribe to the Kedr News Telegram channel.
 subscribe