admin
2026-03-25 | 0 comments
Share this:
Imagine your home looking bright and well-groomed. A good exterior paint job increases the value of the property and improves the appearance from the street. Many beginners rush and skip steps, which leads to cracks or rapid fading. How to paint walls correctly? This guide will take you from start to finish. You will learn to avoid mistakes and get a long-lasting result. What do you need to paint the walls?
Painting the exterior walls of your house yourself is a smart way to save money. It increases the appeal of your home and protects it from the weather. Without the right approach, paint will peel within a year. Beginners often forget about preparation, which takes up 70% of the time. We'll show you how to do it simply and reliably. By the end, you'll be ready to go.
Acrylic latex paint is the most popular option for exterior work. It breathes, allowing moisture to pass through, and is easy to apply. Elastomeric coatings stretch, hiding small cracks in plaster. Oil-based paints are suitable for wood, where strength is needed, but they take longer to dry.
Breathability is important for brick walls to prevent mold. Durability helps in rainy areas. Choose according to the needs of your home.
Here is a table comparing gloss levels:
| Gloss Level | Suitable for | Benefits |
|---|---|---|
| Matte | Brick, plaster | Hides defects, does not glare |
| Satin | Wood, metal | Easy to clean, moderate gloss |
| Semi-gloss | Doors, windows | Wear-resistant, bright look |
Matte paint is ideal for large surfaces. Semi-gloss - for high-traffic areas.
Preparation is the key to success. Check the walls for moisture and mildew. Remove loose paint with a putty knife. This will take a lot of time, but will save you money in the future.
Walls must be clean to SSPC standards, meaning free of dust and dirt. Wipe with a damp cloth. If the surface is chalky, this is a sign of old paint - be sure to prime.
Dry walls will ensure good adhesion. Take your time, let it dry.
Buy quality brushes with angled edges for corners. Short-nap rollers are suitable for smooth walls. Sprayers can be airless - they are fast for large areas. Regular ones are for small jobs.
Manufacturers like Sherwin-Williams recommend rollers for an even coat. An airless sprayer saves paint on the facade. Don't buy cheap stuff - it will leave streaks.
Start with the basics: brush, roller, trays. Add a stepladder for height.
First, wash off the dirt. Use a pressure washer for brick - it will remove mold quickly. For wood, a hand brush with soap is suitable.
Wear gloves when working with chemicals, such as TSP substitutes. They dissolve grease without harm. Rinse off residue with water.
Let the walls dry for 24-48 hours. Check for dryness - it should be like cardboard.
Choose a filler based on the type of wall. For wood - elastic, for plaster - cement. Apply a thin layer with a spatula.
Sand smooth. This will prevent cracks under the paint.
If cracks are not repaired before applying elastomeric paint, they will reappear within a season.
Fill holes in two layers. Let dry between them.
Seal windows and frames with high-quality exterior tape. It will prevent paint from seeping through. Cover bushes with film.
Start from the corners. Remove the tape at a 45-degree angle after drying.
Good tape will last a week in the sun. A cheap one will fall off, leaving marks.
Prime bare wood or repaired areas. Changing the color drastically? Absolutely. Chalk walls will absorb paint without primer.
Pros say: primer saves on paint layers. It holds everything together.
If the old paint is in good condition and the colors are similar, you can skip it. But it's better not to risk it.
For chalky surfaces, use a bonding primer. Stain blockers are for water or resin. Water-based primers are good for acrylic paint, oil-based primers are good for oil paint.
Choose one for the top coat. Water-based dries faster.
Read the label for application tips.
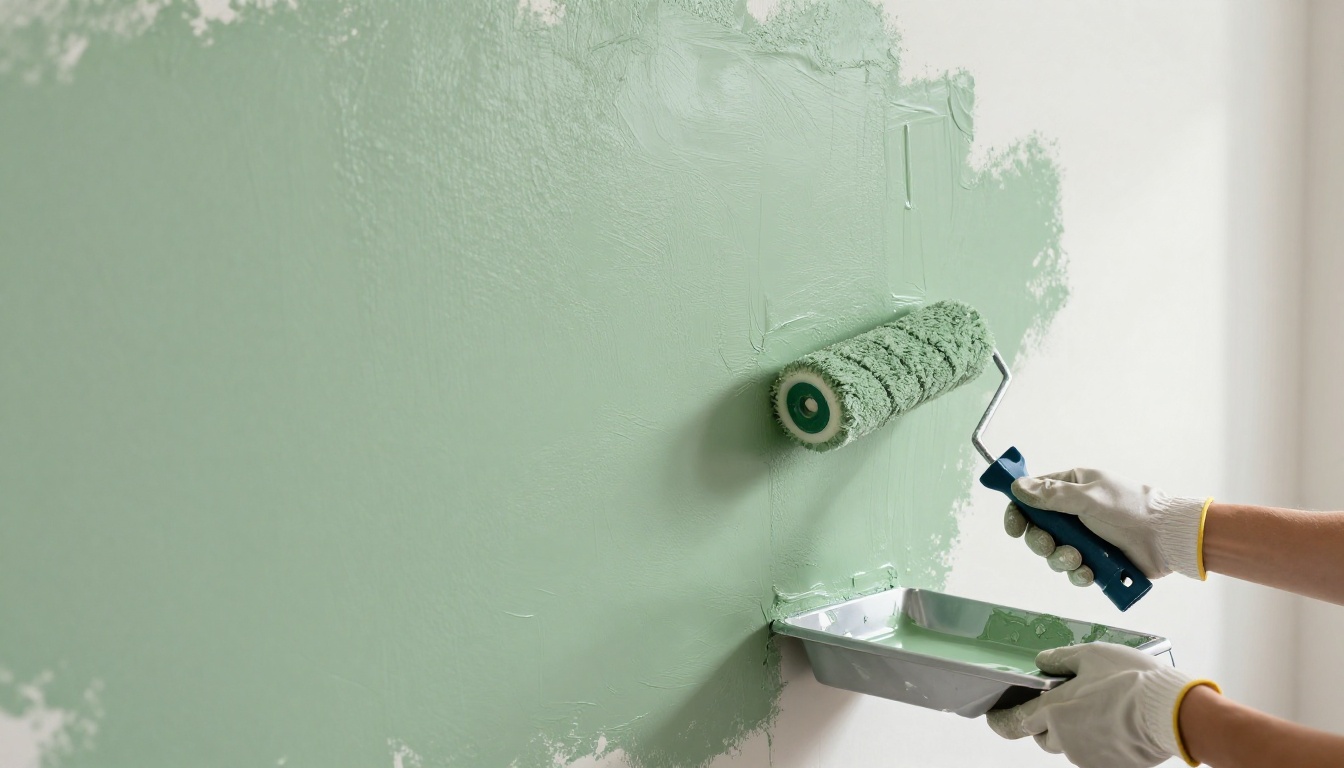
Apply the same way you would paint - with a roller or spray. Keep the layer even, without puddles.
Work along the wet edge. Let dry for 4-6 hours.
Cover the entire area. This is the base for paint.
Measure the wall area in square meters. Multiply the height by the width.
Paint covers 8-10 m² per liter. Check the can - it has the exact numbers.
Buy 20% more. A reserve will save you from mistakes.
Take an angled brush. Start from the window, draw a straight line.
Paint 5-10 cm from the edge. This will make the roller easier.
Do this before the main coat. The lines will stay clean.
When applying with a roller, move along the wet edge. Overlap by 50%.
For a sprayer, hold 30 cm from the wall. Move evenly.
Apply two coats. The first may seem complete, but the second will protect for a long time.
Paint at 10-32°C. The surface is not colder than 10°C.
Avoid dew - it interferes with adhesion. Check the forecast.
Summer is a good time, but not in the heat.
High humidity slows down drying. The sun dries too quickly, leaving marks.
Paint north walls first. There's more shade there.
Humidity below 85% is ideal.
"Dry to the touch" does not mean ready for a coat. Wait for the recoat time specified in the instructions.
Typically 4 hours between coats. This will ensure bonding.
Don't paint in the rain. The coats won't shrink.
Check the walls for gaps. Clean tools with water or solvent. Store leftover paint in a cool place.
Preparation is 70% of success. Don't skip the primer. Observe the weather.
Now your home shines. Try it yourself - you'll be pleased with the result. If you have questions, return to the guide. Good luck with painting!
Previous article
Home Layout Secrets: How to Create the Perfect Space for Comfort and Maximum Functionality
Next article
What is a Home Thermal Inspection: A Complete Guide to Finding Heat Leaks and Saving Energy
Want to stay up-to-date on all the latest news in construction, design, renovation, and energy efficiency? Subscribe to the Kedr News Telegram channel.
 subscribe