admin
2026-10-11 | 0 comments
Share this:
Before renovating your home, it is easy to get carried away with shopping—buying a large tool case only to discover later that half of the items remain unused. To avoid this, first decide what work you will be doing and which materials you will be using.
Painting a room requires one set of tools, while laying tile or assembling furniture requires another. Below, we will look at what to buy first, which tools are better to rent, and how to prepare your workspace.
You should compile your tool list after inspecting the house and creating a renovation plan. Consider the specific rooms, materials, and your own skills: tools needed for replacing flooring might not be necessary for painting walls.
List the work in stages: demolition, surface preparation, finishing, installation, and assembly. List the necessary tools next to each task. For example, removing wallpaper requires a putty knife and a scraper, while installing shelves calls for a level, a power drill/driver, and fasteners.
A plan like this helps you spot tools that will be useful in multiple rooms. It also highlights areas where you might lack experience and should practice on scrap material beforehand.
Concrete, wood, drywall, and tile each require different attachments. A wood drill bit won't work for concrete, and cutting tile requires a suitable tile cutter or blade. Old walls might require a wire brush, a scraper, and leveling tools.
Check the condition of surfaces before buying supplies. If the plaster is peeling or the floor is noticeably uneven, a simple paintbrush and roller won't be enough.
It is usually convenient to own frequently used items like a tape measure, a hammer, and a screwdriver set. However, it makes sense to rent an expensive rotary hammer or tile cutter if you only have one small job to do. Before renting, compare the rental period, cost, availability of the right attachments, and rental terms.
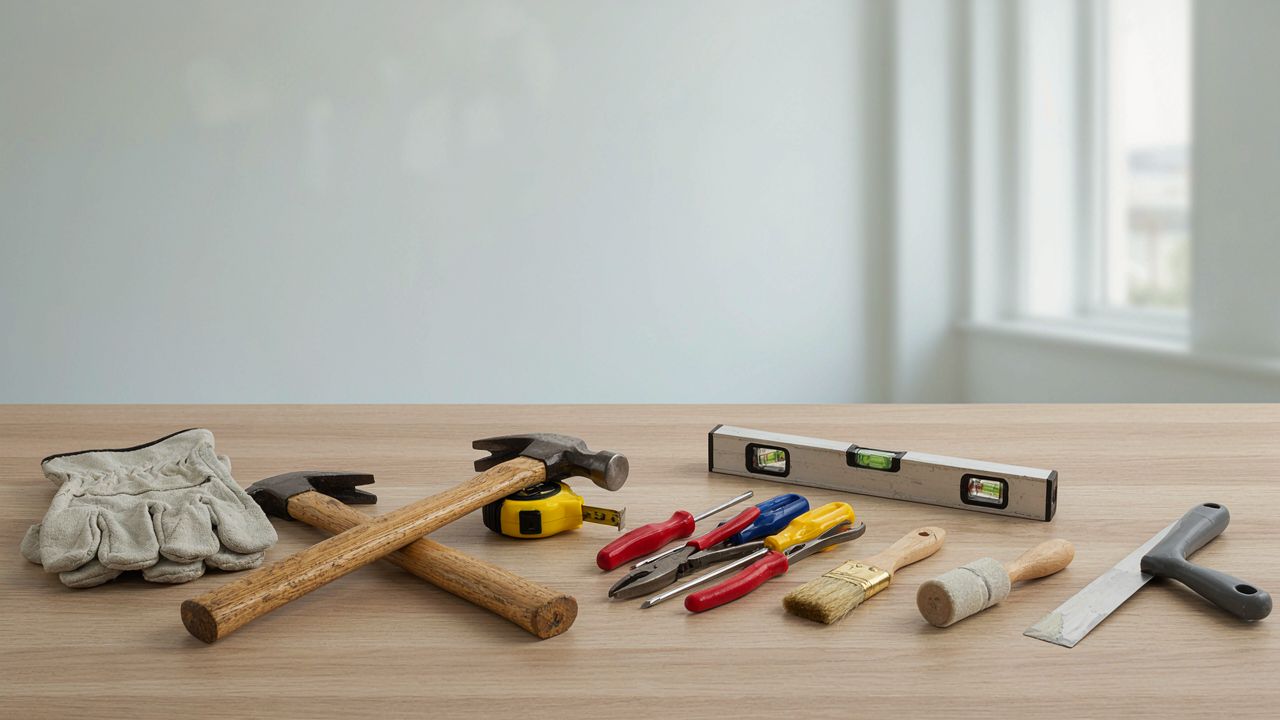
Start with tools for measuring, marking, fastening, and minor repairs. Such a kit will come in handy for assembling furniture, installing curtain rods, and replacing simple parts.
A tape measure is essential for measuring the room, furniture, and the distances between mounting points. A spirit level helps you hang a shelf straight or position a cabinet correctly, while a square allows you to check for right angles when marking out work.
Use a pencil to mark drilling points and cutting lines. A chalk line is handy when you need to mark a long, straight line on a wall or floor.
A hammer is useful for small nails and light installation tasks. A set of screwdrivers or bits is suitable for screws, while pliers help hold parts in place and extract fasteners. An adjustable wrench is used for nuts and fittings of various sizes.
A utility knife with replaceable blades cuts through cardboard, plastic film, and thin materials. Choose your bit set based on the fasteners and appliances in your home; there is no single universal bit that fits every type of screw.
A cordless drill-driver helps you drill holes and drive in fasteners. Adjustable torque settings are important for furniture assembly, and you will need the right drill bits for different base materials. Select screwdriver bits to match the shape and size of the screw.
Check that your accessories are compatible with the tool. Do not force the drill if it is struggling; stop and check the material, the drill bit, and the operating mode.
Surface preparation often takes just as much time as the final finishing work. Residue from old finishes, dust, and uneven spots can compromise the quality of the paint job or the installation of new material.
Putty knives and scrapers help remove wallpaper, peeling paint, and adhesive residue. A stiff brush removes loose particles, but the type of brush should be chosen based on the substrate; coarse bristles can damage soft surfaces.
Specialized removers are suitable for certain types of finishes. Consult the manufacturer's instructions and test the product on a small area first.
For filling, you will need putty knives of various widths and a clean container brush for the mixture. A narrow tool is convenient for filling small defects, while a wide one is used to spread the compound over the wall. A roller covers large, flat areas more quickly, whereas a brush is suitable for corners and areas around sockets, frames, and pipes.
A paint tray helps distribute paint evenly across the roller. Before starting work, cover the floor and any elements that do not need painting with plastic sheeting.
A utility knife is suitable for plastic sheeting, thin sheets, and certain types of flooring. For wood, use a handsaw with a blade appropriate for the material's thickness and type. When cutting plastic, laminate, or other panels, use tools and attachments recommended by the flooring manufacturer.
Secure the workpiece and mark the cut line before sawing. Do not use a dull or damaged blade; it is harder to control and can ruin the edge.
Specialized tools are not required for every renovation project. Before buying, assess the scope of work, how often the tool will be used, and whether you can operate the device safely.
Tiling may require a tile cutter, a notched trowel, and either tile spacers or a leveling system. The choice of tile cutter depends on the tile's size and type. For flooring, the specific material dictates the necessary kit: installing laminate might require a tapping block and spacers, whereas other materials have different installation requirements.
There is no need to buy this equipment if professionals are handling the tile or flooring installation. First, check the installation method recommended by the material manufacturer.
A rotary hammer is suitable for drilling holes in hard substrates, provided the correct drill bit is used. Use a jigsaw to cut sheet materials and wood components, and an angle grinder only with the materials and attachments for which it was designed. Do not fit random discs or blades onto the tool.
Consider the material, the volume of cutting required, and your own experience level for each task. If you have not used a particular tool before, read the manual and practice on a scrap piece first.
Clamps hold the workpiece in place during sawing, drilling, or assembly. Supports help you work with long boards and sheets without having to hold them by hand. Secure fastening reduces the risk of the workpiece shifting and helps guide the tool steadily.
Preparing your workspace is just as important as choosing the right tools. Using protective gear, inspecting accessories, and storing tools correctly reduces the risk of injury and equipment failure.
Wear safety glasses when cutting or grinding, and use an appropriate respirator for dusty tasks. Choose gloves carefully based on the job; loose fabric can get caught in moving parts. Use hearing protection for noisy work.
Protective gear is no substitute for proper technique. Always follow the instructions for both the tool and the material.
Before switching the tool on, check the housing, the power cord or battery, the accessory attachment, and the power switch.
Clear the floor of clutter, ensure the material is stable, and make sure there is enough room to maneuver the tool. For electrical work, disconnect the power supply and ensure the area is safe.If you lack experience with electrical work or other hazardous tasks, consult a professional. Do not attempt to work with faulty tools.
After use, clean the tools and accessories to remove dust and debris. Store them in a dry place, and cover sharp blades or keep them in a protective sheath. A carrying case or toolbox makes it easy to locate the right item quickly and prevents damage during storage.
Replace worn-out consumables and service your tools according to the manufacturer's recommendations. Before starting the next phase of the renovation, ensure the necessary tools are ready for use.
Start your home renovation with the right set of tools. DIY home renovation tools should be selected based on the specific tasks, materials, and your skill level. First, create a work plan, then assemble a basic toolkit, and only then purchase or rent specialized equipment.
Before each stage, check your tools, accessories, and safety gear. This approach prevents unnecessary purchases and helps you start the job with confidence.
Previous article
How house orientation affects energy efficiency and lighting: more light without summer overheating
Want to stay up-to-date on all the latest news in construction, design, renovation, and energy efficiency? Subscribe to the Kedr News Telegram channel.
 subscribe