admin
2026-05-04 | 0 comments
Share this:
Imagine saving thousands of hryvnias by building a roof over your house without hiring a team. This is not only real money in your pocket, but also the pride of your own work. Building a roof yourself is a challenging task, but with the right approach, you'll avoid beginner mistakes and ensure reliable protection from rain and snow.
In this article, you'll find complete step-by-step instructions for building a roof for your home. We'll cover everything from preparation to finishing touches. You'll learn how to calculate loads, assemble rafters, and select materials. The main thing is to act carefully, and your roof will last for decades.
Preparation is the basis for success in DIY roof construction. Without it, you risk alterations and accidents. Start by choosing the roof type suitable for your climate.
A gable roof is easy for beginners. It quickly merges with rain and snow. A hip roof is more reliable in windy areas, but requires more effort.
Calculate the loads for your region. Snow loads in the north can reach 200 kg per square meter. Wind adds up to 50 kg/m². The dead weight of the materials adds another 20-30 kg/m².
To calculate the pitch, use a simple formula. Pitch angle = arctan (height / half the width of the house). For a gable roof, 30-45 degrees is suitable. This will ensure water drainage and stability:
This calculation will minimize the risk of collapse.
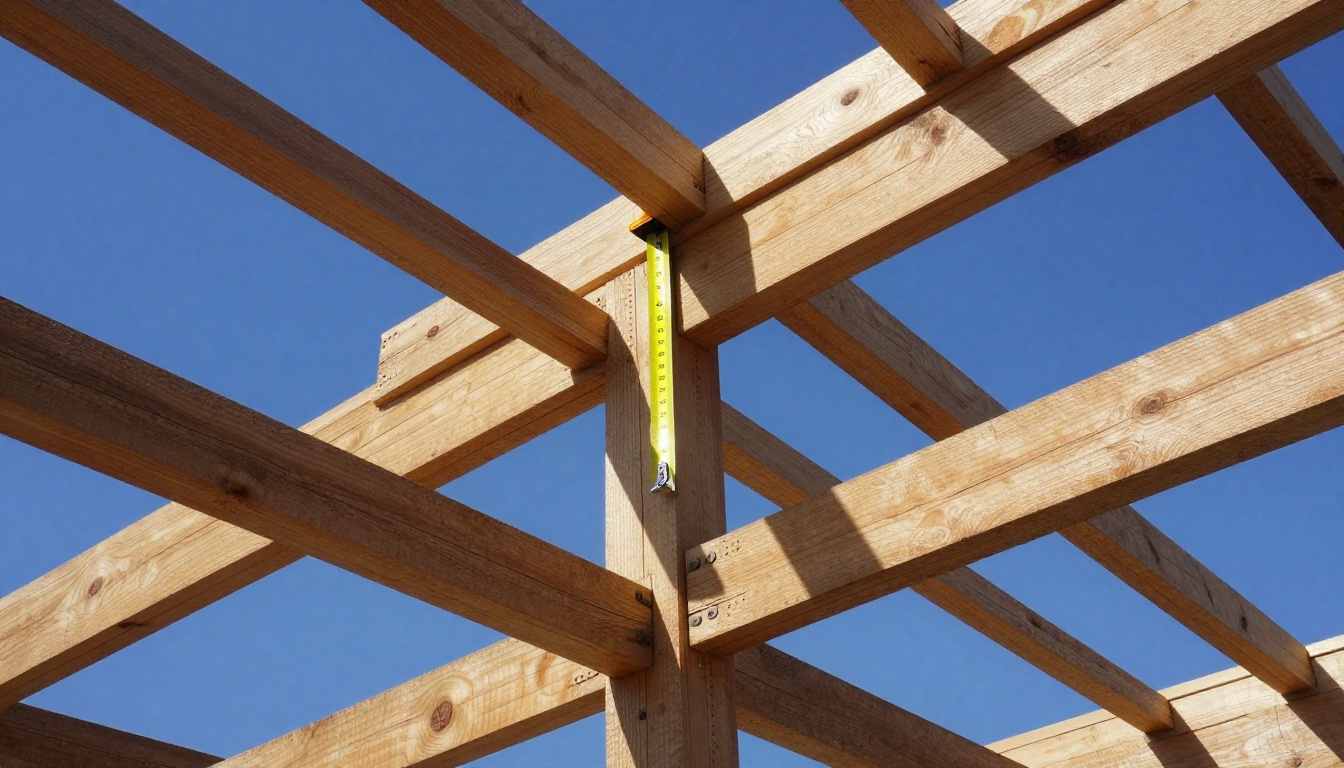
Drawings are your battle plan. Draw the rafter system with valleys and ridges. Specify the dimensions of the boards: rafters are usually 50x150 mm, 60 cm apart.
Make an estimate. For a 10x10 m house, you will need 20 cubic meters of wood, 500 screws, and waterproofing for 150 m². Use a tape measure and pencil for simple sketches.
Programs like SketchUp are helpful for beginners. Or draw by hand on graph paper.
Example: For a gable roof, calculate 24 rafters, each 4 meters long.
Accurate calculations will save 20-30% of the budget. Don't forget to allow 10% for defects.
Check local regulations. In Ukraine, a permit is often not required for a private home, but check with the administration. If the roof is higher than 10 meters, a project may be required.
Safety comes first. Wear a hard hat, use insurance, and use scaffolding. Work together to lift the beams.
Here's a checklist before you start:
This will prevent falls and injuries.
Now let's move on to the foundation. The wall plate evenly distributes the weight of the roof on the walls. Without it, the structure may shift.
Choose a 100x150 mm beam made of dry pine. Lay it on top of the walls. Secure with anchor bolts every 1-1.5 m.
Place roofing felt between the concrete and wood to protect against moisture. Use staples in a wooden house. Tighten the bolts with a wrench to eliminate play.
If the wall is brick, embed the studs in advance. This will ensure strength for 50 years.
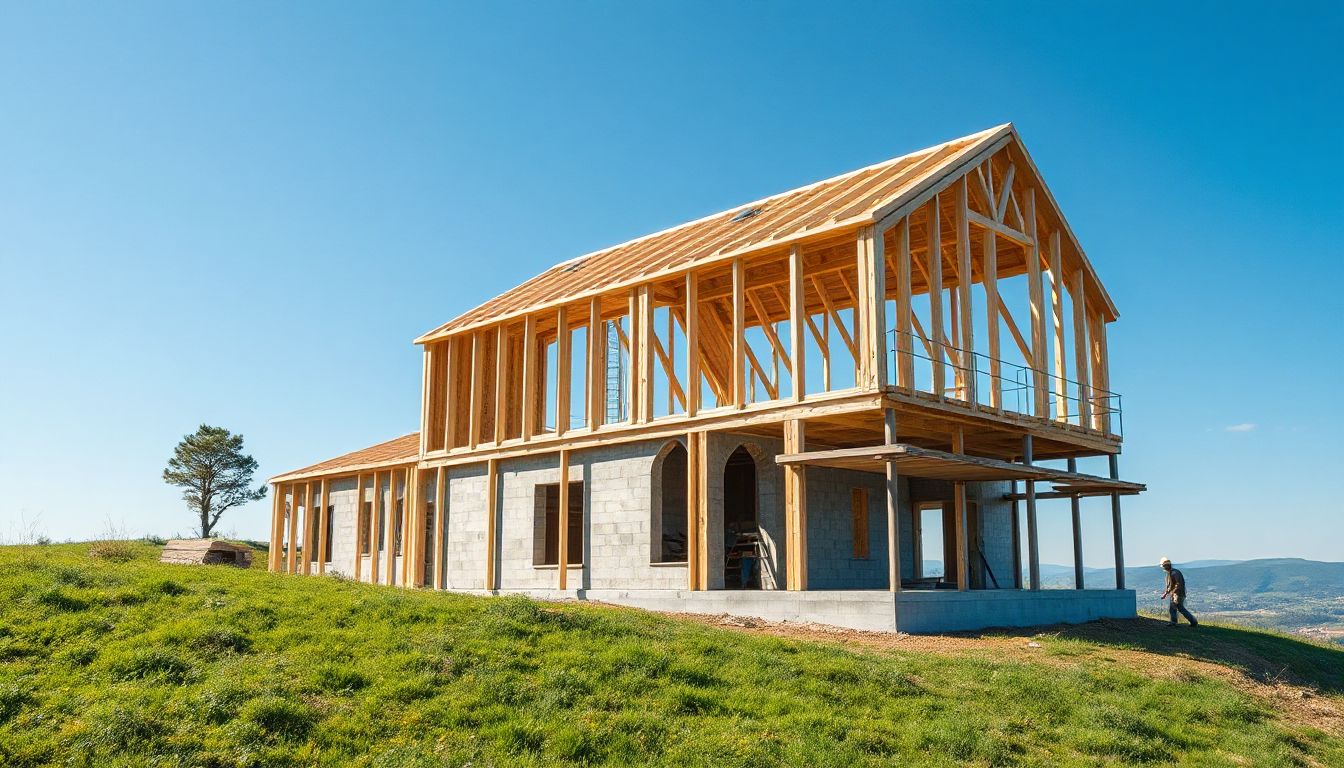
Hanging rafters are suitable for houses without internal walls. They rest on the wall plate and ridge. Sloping rafters are for attics, supported by posts.
Make a dovetail cutout for the wall plate. Angle 45 degrees according to standards. Mark on the template, saw off with a hacksaw.
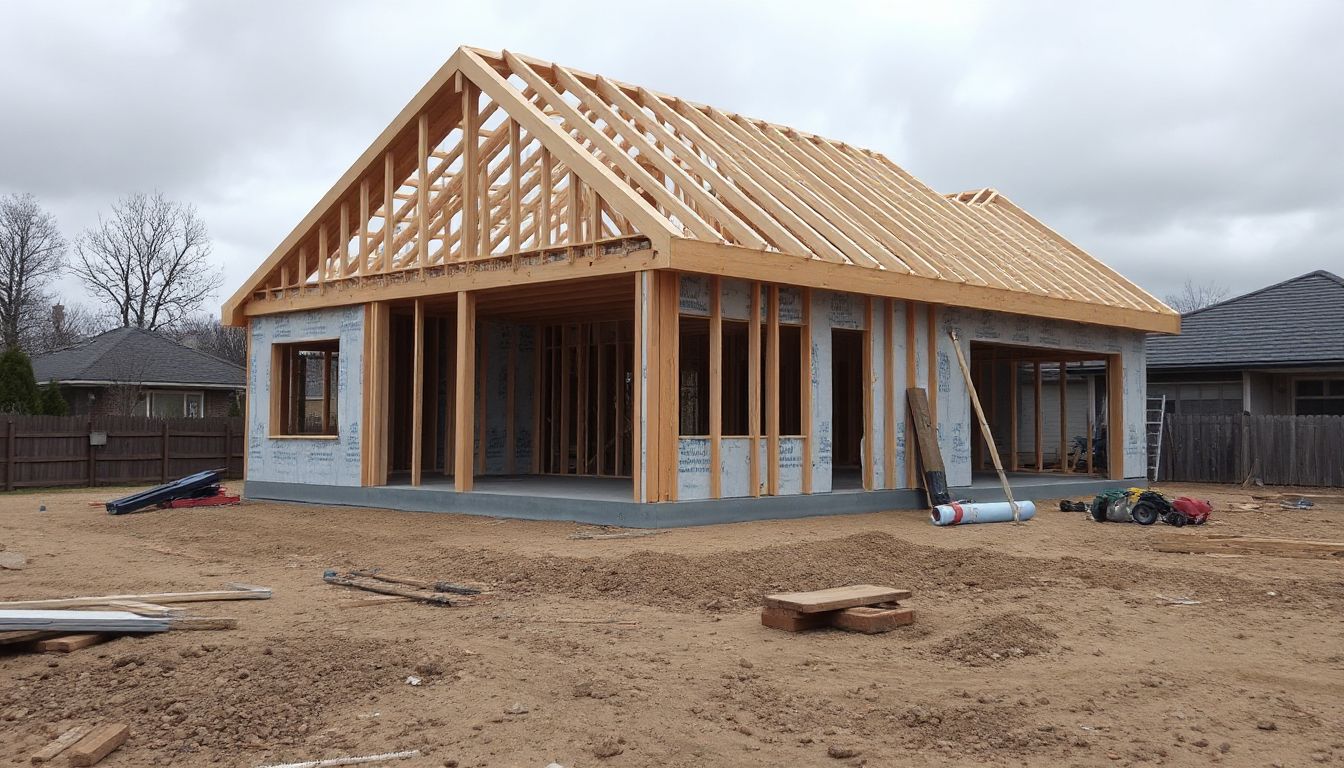
Install in pairs. Raise onto scaffolding, secure with temporary supports. Step - 60-80 cm for snowy regions.
Check with a level. A straight line will prevent distortions.
The ridge purlin is a horizontal beam at the top. Raise it with cables and secure it to the rafters with bolts. Diameter 100-150 mm.
Add braces for rigidity. They run at 45 degrees from the rafters to the purlins. This holds the structure until you apply the sheathing.
Remove the temporary braces afterwards. This system will withstand a load of 300 kg/m².
Insulation will keep you warm in winter. Without it, your heating bills will double. The right barrier will protect against condensation.
Place the vapor barrier inside, on the room side. It prevents vapor from breathing. Use film with adhesive at the joints.
Insulation - mineral wool 150-200 mm thick. Ecowool is cheaper, but requires spraying. Fill the space between the rafters tightly, without gaps.
Fasten with staples. In cold areas, add a 50 mm layer under the rafters. This will reduce heat loss by 40%.
The counter battens are 50x50 mm bars perpendicular to the rafters. It creates a 5 cm gap for air. Moisture escapes, the wood does not rot.
Nail it every 30 cm. This is the base for the sheathing. Without a gap, the roof will last 5-7 years, and with it - 30.
Check the ventilation with your finger: air should flow freely.
Diffusion membranes allow water vapor to escape but retain water. They are better than regular roofing felt. Unroll the rolls from the eaves up.
Overlap - 15 cm, glue with tape. Fasten with staples to the rafters. For a hip roof, take into account the corners.
Such protection will prevent 90% of rain leaks.
The sheathing is the frame under the covering. The service life depends on it. Select the step by material type.
For soft tiles, the step is 10-15 cm, boards 25 mm. Metal tiles require 40 mm slats with a step of 35 cm. Corrugated sheets - solid or 50 cm.
Calculate the quantity: roof length / step + 10%. Fasten with galvanized nails.
Thickness is important: thin sheathing will sag under the snow.
Start with the eaves. For metal tiles, lay the sheets from the bottom up, with an overlap of 15 cm. Fasten with self-tapping screws with rubber - 6-8 per sheet.
Joints seams with steel tape. Avoid holes: water will not leak. For tiles, alternate rows like bricks.
The wind will not blow them off if they are fixed in a wave.
Valleys are weak points. Lay waterproofing, then a metal apron. Slope at 90 degrees to the slope.
Install anti-lint aprons near the pipes. This will cover 95% of leaks.
Check with water: drops should not penetrate.
The final result is appearance and protection. Gutters will divert water away from the foundation. Ventilation will keep the attic dry.
The eaves are where the soffits are located. They ventilate the attic, letting air through. Cover the gable boards with overhangs and paint them with an antiseptic.
Install grates on the soffits. This will create draft. Without them, condensation will accumulate.
Fasten with a 0.5% slope towards the drain. Length - along the perimeter. Brackets every 50 cm.
Funnels over the pipes. Lower the pipes 1 m from the ground. The water will drain away and won't wash away the foundation.
Calculate: 1 m² of roof produces 100 liters of water per rainfall.
Air inlet - under the eaves, outlet - under the ridge. Area - 1/300 of the attic. Install grilles or aerators.
In cold weather, this will save 15% of heat. Check: the smoke from the match should escape.
You have come a long way building a roof for your house with your own hands. Key steps: accurate load calculation, proper ventilation, and sealed assemblies. These three points will ensure durability for 40+ years.
Check the finished roof:
Inspect annually: clean the gutters, check for rust. Replace damaged sheets immediately.
Now your roof is ready. Grab your tools and get started - success awaits! If you follow the instructions, you will save money and enjoy the results.
Previous article
What are the highest-paying professions in Ukraine's real estate sector: Market analysis and prospects for 2026?
Next article
Budget-Friendly Home Design: How to Save Money Without Compromising Quality
Want to stay up-to-date on all the latest news in construction, design, renovation, and energy efficiency? Subscribe to the Kedr News Telegram channel.
 subscribe